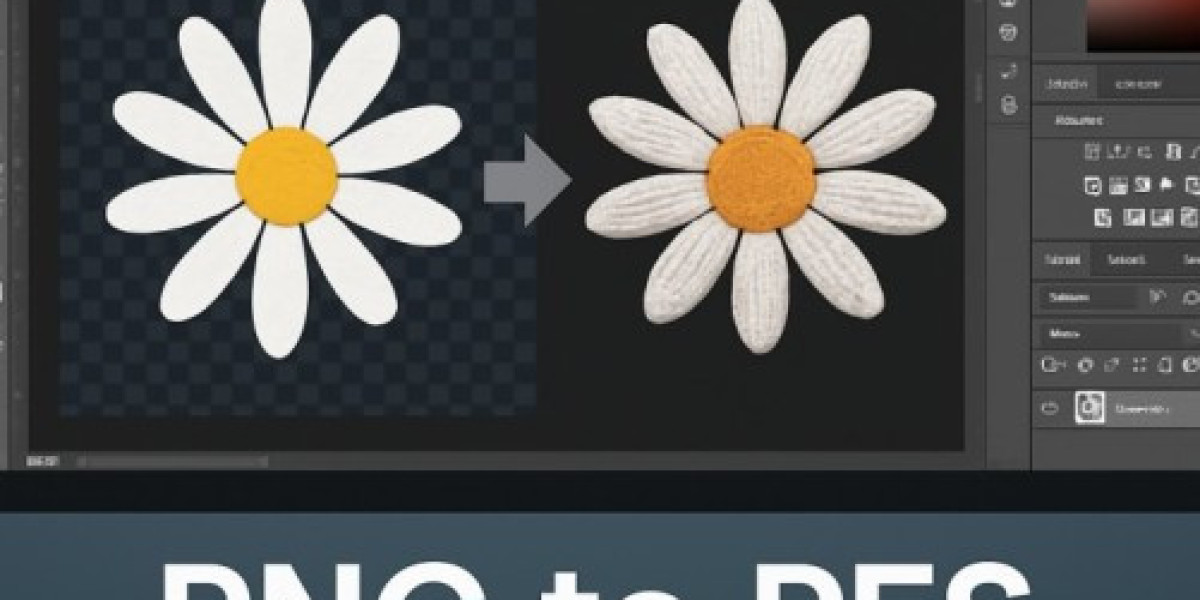
Embroidery brings digital designs to life, and converting PNG to PES is a game-changer for crafters. Dostally.com’s vibrant community thrives on creative ideas, making this guide a perfect fit! Discover how to transform PNG images into PES files for embroidery machines with the PNG to PES conversion process. This article covers file formats, tools, steps, and tips to create stunning designs for apparel, gifts, or events.
What Are PNG and PES Files?
Understanding the formats is key:
- PNG: A raster image with transparency, great for logos but not machine-readable for embroidery.
- PES: A vector-based format for machines like Brother or Bernina, containing stitch instructions (colors, patterns, density).
The PNG to PES process converts pixel-based images into stitch-ready files, enabling vibrant fabric art.
Benefits of PNG to PES Conversion
Why convert? Here’s why it’s valuable:
- Precision: PES files ensure accurate stitching for professional results.
- Versatility: Create custom designs for community events, gifts, or businesses.
- Scalability: PES files resize without losing quality, unlike PNGs.
This skill empowers dostally.com users to craft unique merchandise or decor.
Tools for Converting PNG to PES
Choose the right software for seamless conversion:
- SewArt: Affordable and beginner-friendly for digitizing PNGs.
- PE-Design: Ideal for Brother machines with advanced features.
- Ink/Stitch: Free Inkscape extension for budget-friendly designs.
- Wilcom Hatch: Professional tool for complex projects.
These tools import PNGs, digitize designs, and export PES files. Free converters exist but may lack precision.
How to Convert PNG to PES
Follow these steps for success:
- Edit the PNG: Use GIMP or Photoshop to simplify colors and ensure a transparent background.
- Select Software: Import the PNG into SewArt, Ink/Stitch, or similar.
- Digitize: Trace the image, set stitch types (e.g., satin, fill), and adjust colors.
- Export as PES: Save the file for your machine.
- Test: Stitch on scrap fabric to verify quality.
Practice refines the process, ensuring flawless designs.
Pro Tips for Quality Results
Elevate your embroidery with these tips:
- Simplify Images: Reduce colors in complex PNGs to avoid stitch errors.
- Check Compatibility: Confirm your machine supports PES files.
- Use Vectors: Convert PNG to SVG first for cleaner tracing.
- Preview Designs: Review PES files in software to catch issues.
- Seek Experts: For intricate designs, professional digitizing services save time.
These strategies ensure vibrant, machine-ready designs.
Conclusion
Converting PNG to PES unlocks endless creative possibilities for embroidery enthusiasts. Start your PNG to PES guide today to create standout designs that inspire! Join dostally.com’s creative community and share your embroidery journey.